Laser Etching & Craft · Guide
Halloween Laser Etching Ideas: Cut, Etch, and Gift Better Every Year
Halloween laser etching ideas that work year after year — cork coasters, birch cutout pendants, materials, settings, free design resources, and how to keep it personal.
By Robert Anthony · · 10 min read
Halloween is the one holiday where a laser really gets to show off. The aesthetic is high-contrast by nature — black on pale wood, burned linework on cork, silhouettes and cutouts — which is exactly what a diode or CO2 laser does best. It is also the season where cheap decor piles up in October and lands in a bin by November. Etched pieces do not have to work that way.
Everything below comes out of a small studio in Vacaville, California, run by Robert — a veteran who started with one machine on a workbench and a habit of testing settings until the burn was clean. The ideas are meant to hold up in any October, not just this one.
Start with the material, not the design
The most common beginner mistake is picking a graphic first and forcing it onto whatever blank is on the shelf. Halloween art is dense — bats, stars, lettering, textures — and dense art punishes the wrong substrate.
- Cork — forgiving, fast, and gorgeous with heavy fills. Burns to a deep chocolate brown with real contrast. Ideal for coasters and trivets.
- Birch and basswood plywood — best for cutouts and silhouettes. Thin stock (1/8") cuts clean and stays light enough to wear.
- Slate — dramatic white-on-black etch, but heavy and brittle; better for tabletop than anything hanging.
- Anodized aluminum — crisp, permanent, weatherproof. Good for keychains and tags that outlive the season.
- Leather and leatherette — great for patches, but Halloween lettering needs generous stroke weight or it closes up.
Idea 1: Cork coasters with a joke that lands
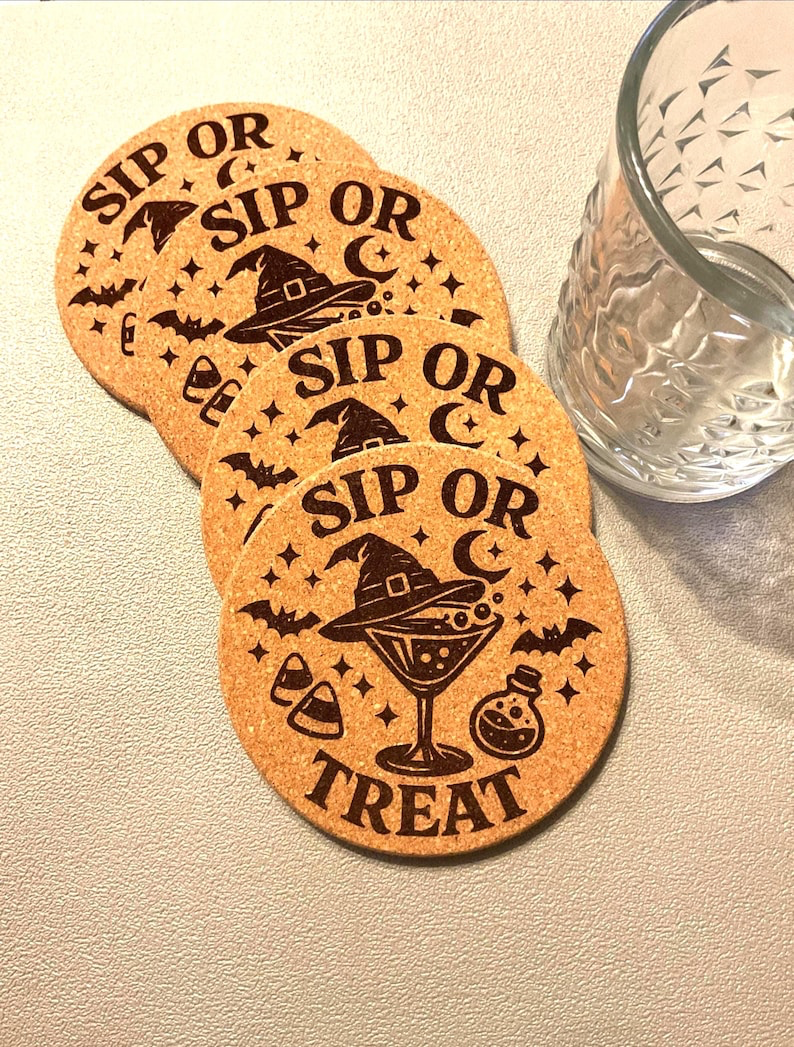
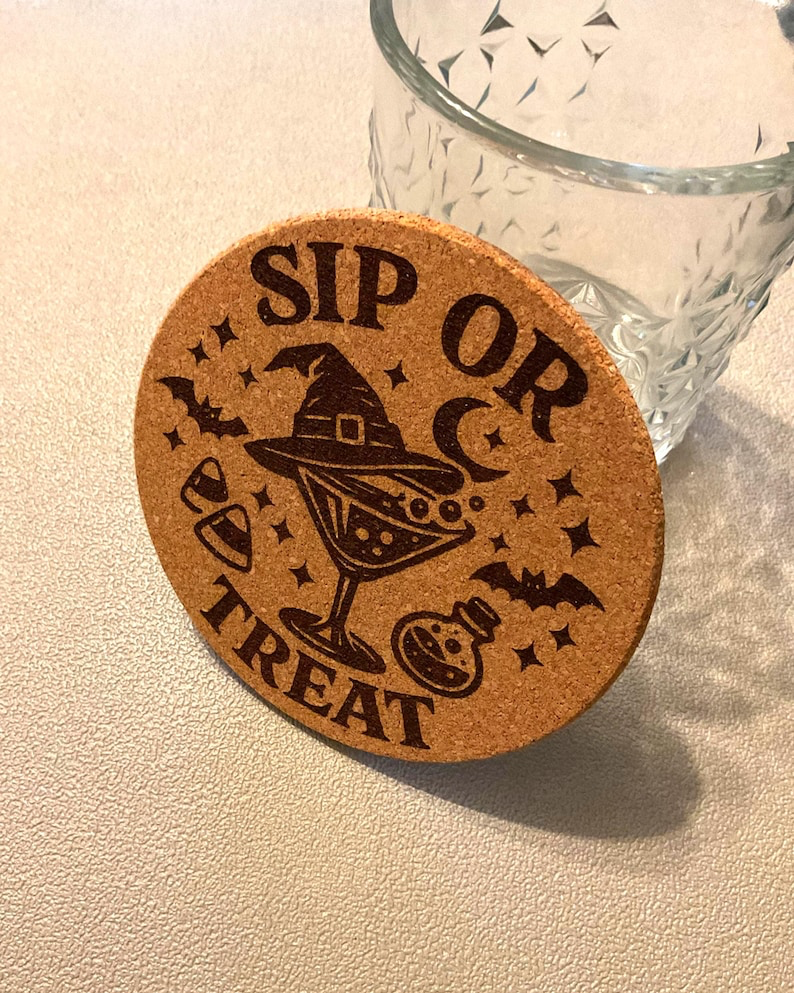
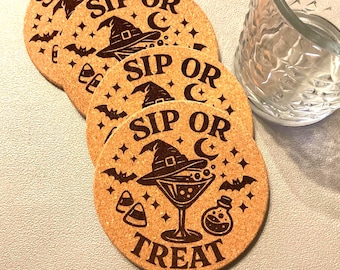
Coasters are the single best Halloween project for a new laser. They are cheap to test, they use a full-fill engrave so you learn your machine's power curve fast, and people actually keep them. The Sip or Treat set pairs a witch-hat cocktail with bats, candy corn, and a potion bottle — party art that still reads as design rather than clip art.
Two rules make a coaster design work. First, keep one dominant shape at the center so it reads from across a table. Second, arc the lettering around that shape instead of stacking it — round substrate, round layout.
Settings starting point for cork
Every machine differs, so run a test grid before committing. On a 5–10W diode, most 4" cork coasters engrave well somewhere around 60–80% power at 1500–2500 mm/min with 0.08–0.1 mm line interval. Go too slow and cork scorches into a fuzzy halo; go too fast and the art turns gray. Wipe the finished piece with a dry cloth to lift soot before photographing it.
Idea 2: Birch cutout pendants and ornaments
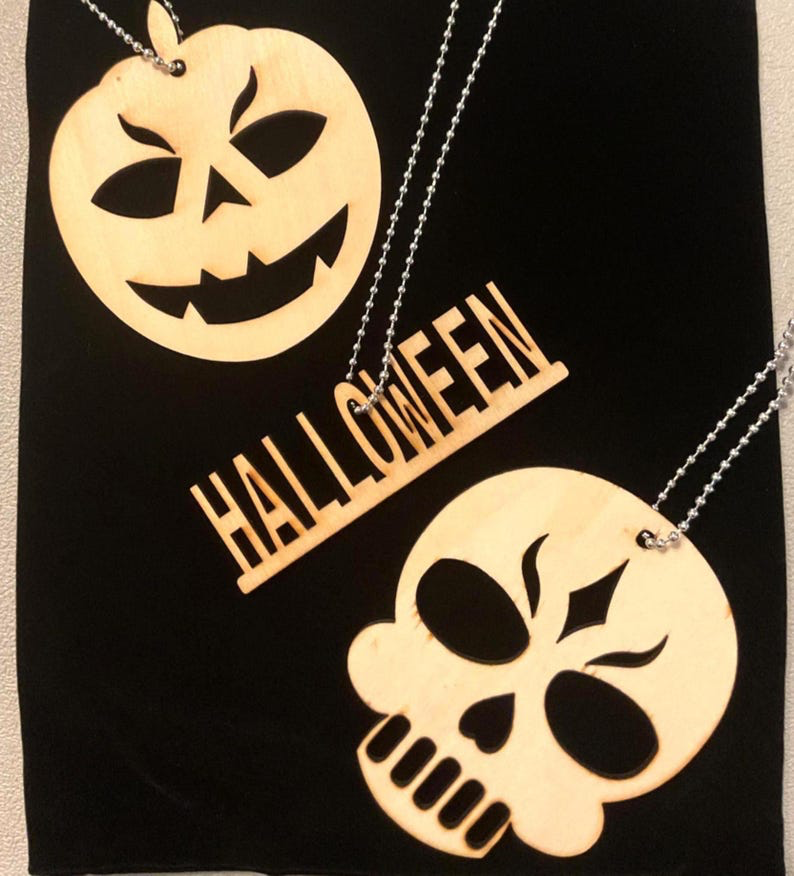
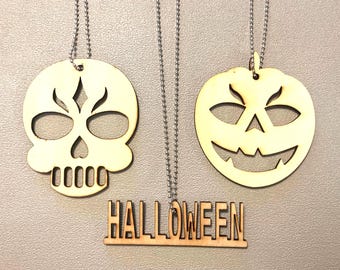
Cutouts are where a laser earns its keep. A pumpkin face, a skull, a word — all cut from 1/8" birch, sanded, and hung on a ball chain. The three-piece Halloween statement necklace set is exactly this idea: a jack-o'-lantern, a HALLOWEEN nameplate, and a skull, each light enough to wear all night.
Three things separate a clean cutout from a craft-fair reject:
- Keep every island connected. A letter like O or A needs a bridge, or the counter drops out on the cut. Design the bridges deliberately so they look intentional.
- Mind the minimum stroke. Nothing thinner than about 2 mm in 1/8" birch, or it snaps in a pocket.
- Place the hole in the file. A 2–3 mm hole cut with the outline beats a drilled hole every time, and it never splits the grain.
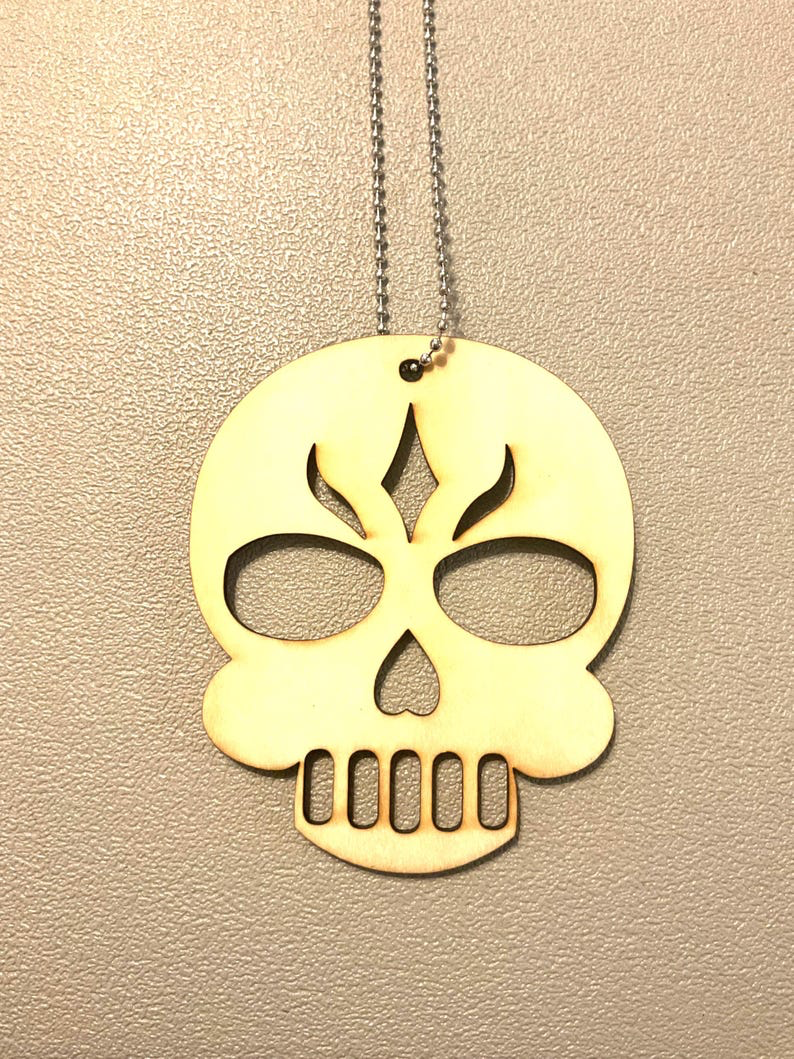
Notice how little detail the skull actually contains. The teeth are five slots. The brow is three tapered shapes. Negative space carries the read, which is a good rule for any Halloween cut file: remove until it stops being recognizable, then add one element back.
Idea 3: Pieces that outlive October
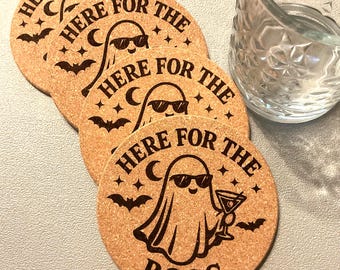
The best Halloween etching is not Halloween-only. A skull pendant reads as everyday jewelry in March. A Here for the Boos coaster set still holds a glass in February. Design toward that and your work stops being seasonal inventory.
- Skip the year. A date locks a piece to one October.
- Favor silhouette over gore. Bats, moons, skulls, and cats live in the general gothic vocabulary all year.
- Etch a name or initial on the back. Personalization is why a piece stays in a drawer instead of a donation bag.
- Use materials that age well — cork, hardwood, aluminum — not printed MDF that swells.
That is the same argument made in why laser etching lasts a lifetime: the mark is the material, so it cannot peel off.
Idea 4: Small-batch gifts and party sets
A production run of ten coaster sets is a realistic weekend for one machine. Other batchable ideas that work well in the season:
- Etched cork trivets for a host gift, sized to a standard casserole dish.
- Birch gift tags cut in sheets of twenty, etched with names.
- Aluminum keychains with a pet's silhouette — a quiet Halloween-adjacent seller.
- Leather patches for a costume bag or a shop apron.
- A cutout garland: repeated bats on a single sheet, threaded on twine.
If you would rather have a set made than make one, the studio takes custom and bulk etching work, including local pickup around Vacaville and Solano County.
Free resources for design inspiration
You do not need a paid bundle to build good Halloween files. These are genuinely free and worth bookmarking:
- Inkscape — free, open-source vector editor. Trace bitmap plus node editing handles almost every cut file you will need.
- The Public Domain Review — Victorian gothic engravings, memento mori prints, and anatomical plates, all out of copyright.
- Smithsonian Open Access — millions of free-to-use images, including natural history specimens that vectorize beautifully.
- The Noun Project — clean icon silhouettes; free with attribution, and the shapes are already laser-friendly.
- Google Fonts — free display typefaces. Look for heavy slab and condensed grotesques; hairline scripts do not survive a cut.
- Our own studio gallery — every image is free to use with attribution, including the Halloween work in this article.
Safety, briefly, because it matters
Cork and wood produce real smoke. Run an inline fan vented outdoors or a filtered enclosure, keep a fire extinguisher within arm's reach, wear laser-rated glasses matched to your machine's wavelength, and never leave a running job unattended. Do not cut PVC, vinyl, or unknown plastics — chlorinated material releases gas that ruins both your lungs and your machine.
Where to start this week
Pick one shape. Cut it in birch. Etch the same shape into cork. Compare the two, adjust one setting, and run it again. That loop — one variable at a time — is how a workbench turns into a studio.
New to the machine side of it, start with how to get into laser etching. To see the finished versions of everything above, browse the shop or get in touch about a custom set.
Featured pieces
From the studio
Hand-strung and finished in-studio. Every piece from our shop can be restrung or re-set at cost — just reach out.
 Etsy
EtsyHalloween “Sip or Treat” Cork Coasters (Set of 4) — Laser Etched — Gift Bag Included
$14.00View on Etsy →
 Etsy
EtsySpooky & Versatile 3-Piece Halloween Statement Necklace Set
$22.99View on Etsy →
 Etsy
EtsyHalloween “Here for the Boos” Cork Coasters (Set of 4) — Laser Etched — Gift Bag Included
$14.00View on Etsy →
Keep reading
Laser Etching & Craft
How to Get Into Laser Etching: Machines, Software, and a Real First Year
A practical guide to starting laser etching — diode vs CO2 vs fiber, honest machine picks by budget and purpose, free open-source software, and safety.
Laser Etching & Craft
Why Laser Etching Lasts a Lifetime: The Craft Behind a Permanent Mark
How laser etching bonds a design into metal, wood, and stone — why the mark outlasts ink and paint, and what to look for when you order a piece that should last.
Laser Etching & Craft
Laser Engraved Cork Coasters: How to Choose, Use, and Care for Them
What makes cork the right coaster material, how laser engraving behaves on it, and a simple care routine that keeps a set looking sharp for years.
Laser Etching & Craft
Laser Engraved Leather Patches: How They're Made and Why They Last
A studio look at laser engraved leather patches — how the burn works, what leather does under the beam, and how to spec patches for hats and jackets.