Laser Etching & Craft · Guide
How to Get Into Laser Etching: Machines, Software, and a Real First Year
A practical guide to starting laser etching — diode vs CO2 vs fiber, honest machine picks by budget and purpose, free open-source software, and safety.
By Robert Anthony · · 12 min read
Laser etching looks like an expensive hobby from the outside. It is not, anymore. A capable desktop machine now costs less than a decent used camera, the strongest control software is free and open source, and the learning curve is measured in weeks, not years. What follows is the guide we wish we had when we started: how the three machine types actually differ, which brands are worth your money for which purpose, the free software stack, and the safety rules that are not optional.
First, know which of the three machine types you need
Nearly every consumer and small-shop laser falls into one of three families. Picking the wrong family is the single most expensive mistake beginners make, because no amount of tuning turns one into another.
Diode lasers (blue, 450nm)
An open-frame gantry with a semiconductor diode module, typically rated 5W to 40W optical. Cheap, light, and genuinely capable on wood, cork, leather, cardstock, painted or anodized metal, and slate. They cannot cut acrylic reliably (clear acrylic passes blue light straight through), and they cannot mark bare metal without a coating spray. Entry cost runs roughly $150 to $1,200.
CO2 lasers (10.6µm, glass or RF tube)
The workhorse of the engraving trade. A CO2 tube cuts and engraves wood, acrylic, leather, paper, fabric, rubber, and glass far faster and cleaner than a diode, with real cutting depth. It will not mark bare metal without a marking compound. Entry cost runs roughly $400 for a used K40 to $5,000+ for an enclosed 60–100W machine.
Fiber lasers (1064nm)
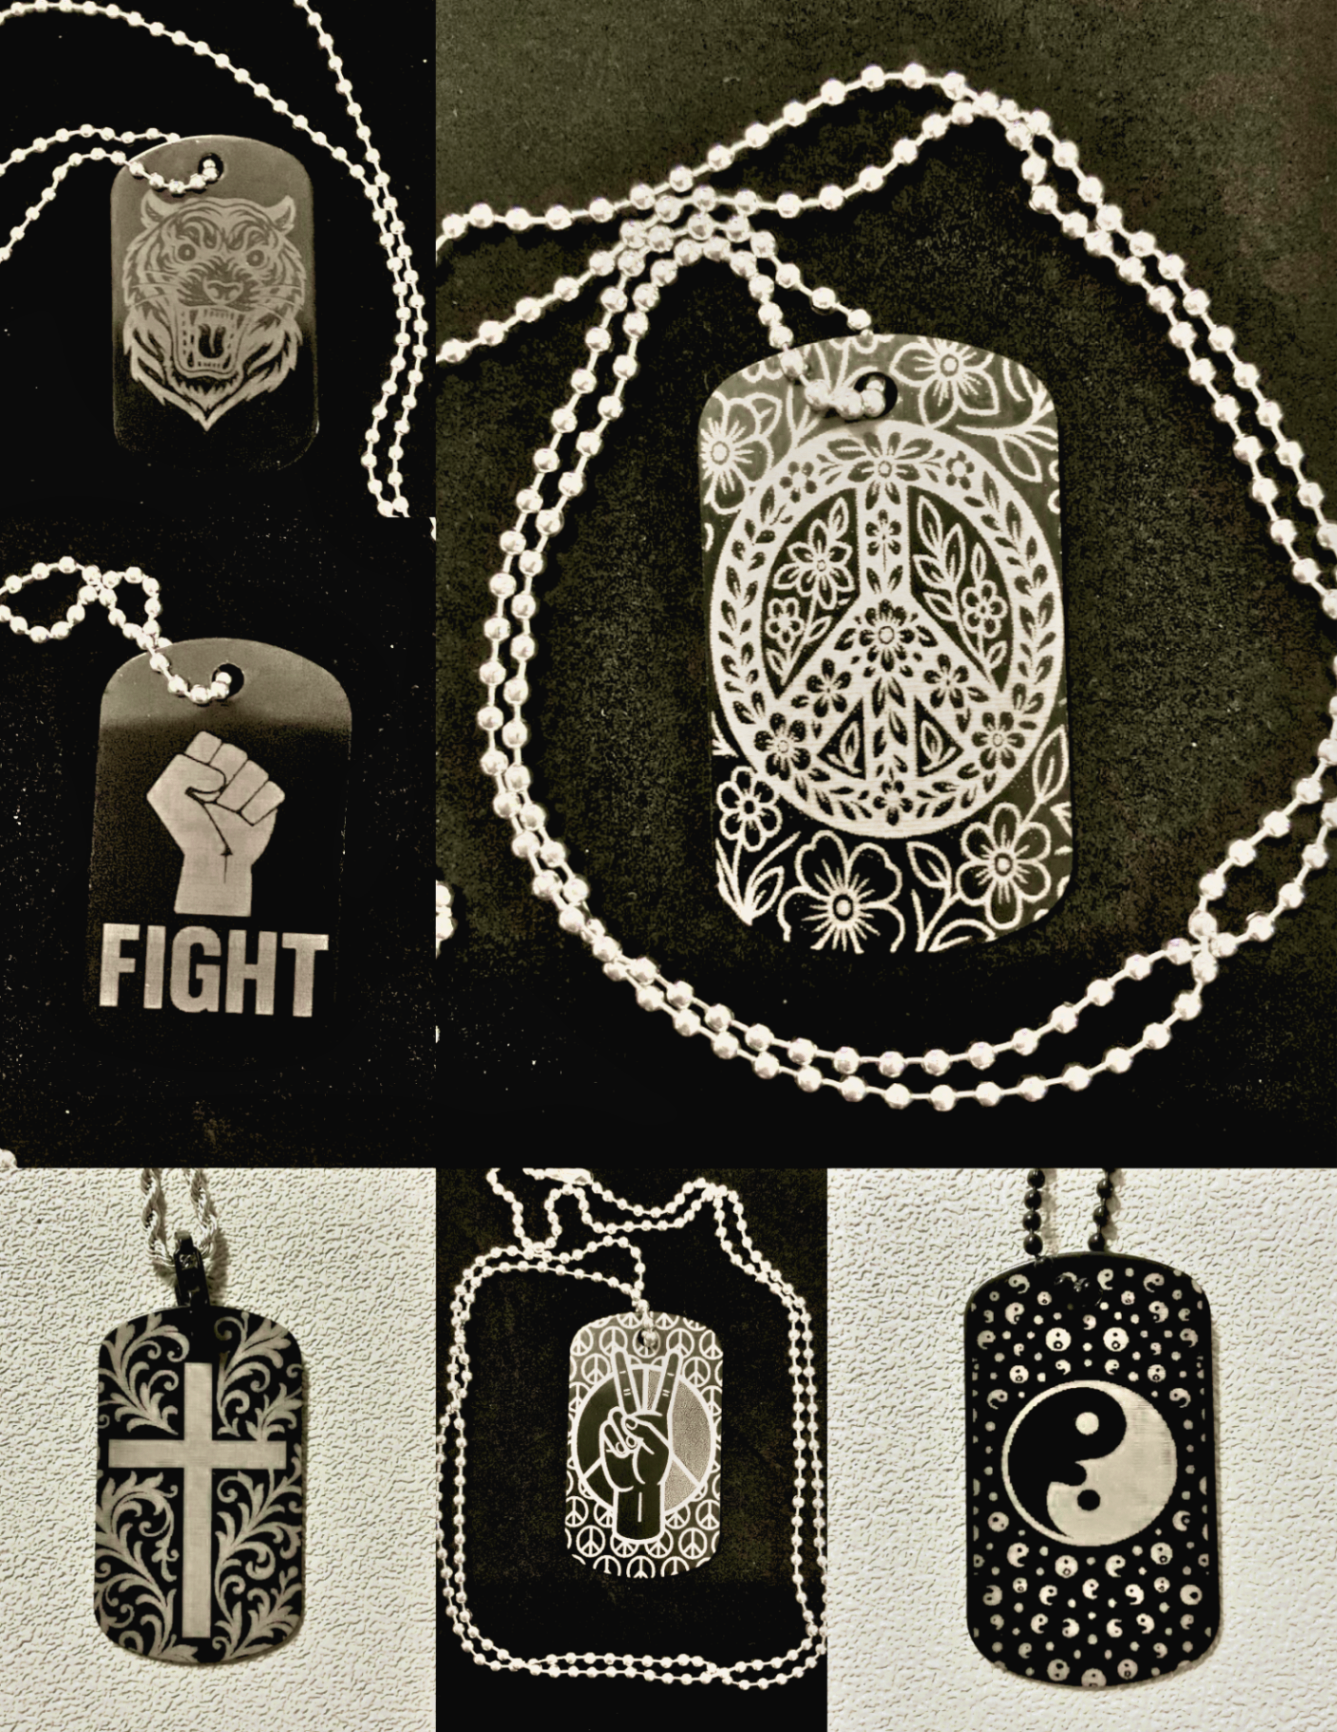
Purpose-built for metal. A fiber laser marks, anneals, and deep-engraves stainless, aluminum, brass, and titanium with no coating, and does color annealing on stainless. It is poor at organics like wood. Entry cost starts around $2,000 for a 20W desktop unit and climbs quickly. Our aluminum dog tags and black aluminum business cards live in this category of work.
The short version: diode for wood, leather, and coasters. CO2 for cutting and production volume. Fiber for metal. Many working studios eventually own two.
Machine suggestions by purpose and budget
These are the brands that show up consistently in maker communities with active support, available parts, and firmware that plays well with third-party software. We have used some, and researched the rest — verify current specs and pricing before buying, since model lines change every year. Nothing below is sponsored.
If you want to test the craft for the least money
- ACMER S1 / P2 — compact 6W-class diode. Small bed, quiet, plugs into a laptop. Enough to engrave cork coasters, leather patches, and wood tags. This is the machine we reviewed in detail if you want the honest limits.
- Ortur Laser Master 3 — long-standing diode line with strong safety features (flame detection, tilt shutoff) and a large community of users troubleshooting online.
- Sculpfun S9 / S30 — inexpensive, well-documented, and a common first machine. Fine on wood and leather; expect to build your own enclosure and exhaust.
If you want the most capable diode setup
- xTool S1 — fully enclosed diode with a class-1 safety rating, auto-focus, and a conveyor passthrough. The enclosure matters more than people expect: it contains smoke, protects your eyes, and lets you run a laser in a room you also live in.
- xTool F1 / F1 Ultra — portable hybrid units that combine diode and infrared/fiber sources, so you can mark metal and engrave wood on one desk. Expensive for a diode, but the dual source removes a whole purchase decision.
- Creality Falcon2 Pro — 22W and 40W enclosed options with integrated air assist, aimed squarely at people scaling from hobby to small orders.
- Atomstack A70 Max — high-power open-frame diode for those who want cutting depth on wood without moving to CO2.
If you are cutting acrylic, wood, or running volume
- Glowforge Aura / Plus / Pro — the easiest CO2 experience by a wide margin, with a browser-based workflow and proofgrade materials. You pay for that convenience with a cloud dependency and a subscription tier for some features.
- OMTech Polar / 60–100W cabinet machines — the value pick in real CO2. Standard controllers, works with third-party software, parts are cheap and everywhere.
- Monport / Gweike Cloud — competitive desktop CO2 with built-in extraction, popular with Etsy sellers who need throughput.
- Used K40 (40W Chinese CO2) — the classic hacker's entry at a few hundred dollars. Budget for a controller upgrade, an air assist, and a real exhaust. It runs beautifully on open-source software, which is exactly why it is still recommended.
- Thunder Laser Nova, Epilog, Trotec — professional tier. Buy these when downtime costs you money, not before.
If you are marking metal
- Monport / Cloudray / OMTech 20–30W desktop fiber — the standard entry into real metal marking. Deep, permanent, no coatings.
- xTool F2 Ultra — dual-source fiber plus diode in a consumer-friendly package if you want metal and organics from one machine.
- LaserPecker LP4 / handheld units — genuinely portable dual-source markers for small parts and on-site work. Small work area; excellent for tags, tools, and personalization at events.
The free and open-source software stack
You do not need to buy design software to start. The open-source toolchain is mature, widely documented, and used by professionals every day.
- Inkscape — free vector editor and the practical replacement for Illustrator in a laser workflow. Everything you cut or line-engrave should start as clean vector paths here. It exports SVG and DXF that every laser program reads.
- GIMP — free raster editor. Use it to convert photographs to high-contrast grayscale and to test dithering before you burn a real coaster.
- LaserGRBL — free, open-source Windows control software for GRBL-based diode machines. Handles raster image engraving, dithering algorithms, and direct job streaming. For a first diode machine, this plus Inkscape is a complete workflow at zero cost.
- grbl — the open-source firmware running inside most hobby diode controllers. Worth knowing it exists: it is why so many different machines accept the same G-code and the same software.
- K40 Whisperer — open-source control for stock K40 CO2 lasers, and the reason a $350 used machine is still a serious tool.
- LaserWeb4 — open-source browser-based CAM and control for lasers and CNC, if you prefer a machine-agnostic front end.
- Blender and FreeCAD — open source, useful once you start generating jigs, fixtures, and repeatable alignment templates.
The one paid tool almost everyone eventually buys is LightBurn — a one-time license, not a subscription. It is not open source, but it saves enough time on camera alignment, material libraries, and multi-layer jobs that most working shops consider it mandatory. Start free, buy it when the free stack becomes the bottleneck.
Safety is the part you cannot improvise
Laser engravers are regulated radiation-emitting products in the United States. An open-frame diode is typically a Class 4 device — the highest hazard class — which means the beam and its reflections can cause permanent eye injury in less time than a blink, and can ignite material.
- Wear the right glasses, every time. Eye protection must be rated for your laser's wavelength — 445–450nm for diodes, 10.6µm for CO2, 1064nm for fiber. Glasses for one wavelength offer no protection at another. The orange shield that ships with a machine is not a substitute for glasses.
- Never run a job unattended. Fires start fast in cork, paper, and thin wood. Keep a fire extinguisher within arm's reach — not in the next room.
- Ventilate outward. Engraving smoke carries fine particulates and, on some materials, real toxins. An inline fan ducted out a window is the minimum. A filter box is better if you cannot vent.
- Never cut PVC, vinyl, or anything containing chlorine. It releases chlorine gas that will destroy your lungs and corrode the machine. When in doubt about a plastic, look up the safety data sheet before it goes on the bed.
- Run air assist. It reduces flare-ups, keeps the lens clean, and dramatically improves edge quality. It is the cheapest upgrade that improves everything.
For the deeper reading, OSHA's laser hazard guidance and the ANSI Z136.1 standard are the authoritative sources. Read them once before your first burn.
Your first month, in order
- Buy the machine and a wavelength-matched pair of glasses in the same order. Do not run a job before both arrive.
- Set up ventilation before your first burn, not after the room smells like a campfire.
- Run a material test grid on every new material — a matrix of power and speed squares. This single habit replaces months of guessing. LaserGRBL and LightBurn both generate them automatically.
- Keep a notebook or spreadsheet of settings: material, thickness, power, speed, passes, focus height. Your future self will thank you when a repeat customer wants the same coaster in six months.
- Make ten of the same thing. Repetition, not variety, is what teaches you the machine.
- Give the first batch away. Feedback from someone holding the object is worth more than any tutorial.
What to make first
Pick something small, forgiving, and cheap to fail on. Cork coasters are close to ideal: the material costs pennies, it engraves with high contrast at low power, and a set of four is a sellable product. Wood tags, leather patches, and slate coasters are the same story. Save clear acrylic, glass, and photo engraving for after you understand focus and dithering.
We started the same way. Everything in our shop and every job on our custom etching services page came out of a small studio in Vacaville, California, with a modest machine and a lot of test grids. If you want the specifics of one budget machine's real limits, read our ACMER S1 review. For what the finished work looks like after years of wear, see why laser etching lasts a lifetime, and for how leather behaves under a beam, the leather patches guide.
The craft rewards starting badly and improving in public. If you are still deciding, that is the whole argument in why creators should not wait to start.
Keep reading
Laser Etching & Craft
A Great Laser Engraver for Small Crafts: The ACMER S1 6W Reviewed
A compact 6W diode laser is enough to start a real craft business. What the ACMER S1 does well, where its limits are, and how to work inside them.
Laser Etching & Craft
Boutique Laser Engraving Studios: Why Small Shops Do the Best Custom Work
What a boutique laser engraving studio actually offers — smaller runs, real proofs, tighter design work, and pieces you can't get from a big print-on-demand shop.
Laser Etching & Craft
Why Laser Etching Lasts a Lifetime: The Craft Behind a Permanent Mark
How laser etching bonds a design into metal, wood, and stone — why the mark outlasts ink and paint, and what to look for when you order a piece that should last.
Laser Etching & Craft
Laser Engraved Leather Patches: How They're Made and Why They Last
A studio look at laser engraved leather patches — how the burn works, what leather does under the beam, and how to spec patches for hats and jackets.