Studio Notes · Guide
Turn Your Sketches Into Wearable Designs: From Paper to Printed Apparel
A studio walkthrough for turning a hand-drawn sketch into clean vector line art and printing it on tees, hoodies, tanks, and totes yourself.
By Robert Anthony · · 9 min read
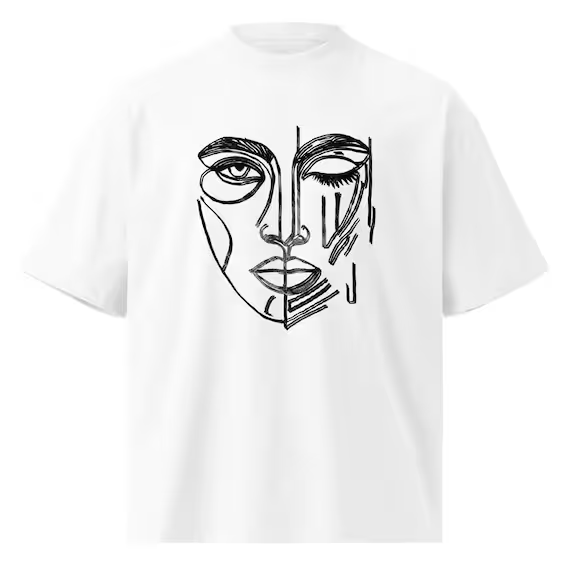
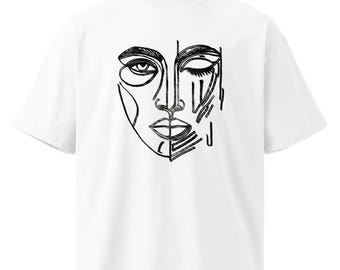
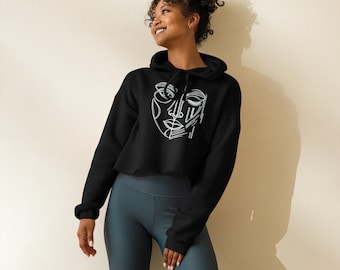
Most people who draw never wear what they draw. The gap is not talent — it is a handful of unglamorous steps between a pencil line on paper and a print file a factory will accept. This is the exact path I used to take one hand-drawn face, the One-Eyed Muse, from a sketchbook page to tees, a hoodie, a tank, and a tote.
Everything below can be done with free software and a phone camera. No tablet required.
1. Draw for contrast, not for detail
Apparel printing flattens subtlety. Faint pencil shading disappears; confident dark line work survives. Ink your final pass with a fine liner (0.5–0.8 mm) on clean white paper, and keep the composition inside a roughly square area — most chest prints land in a 12 x 14 inch window.
- Use full black. Grey pencil becomes mud once it is thresholded.
- Leave breathing room. Lines that run off the page get cropped by the print area.
- Vary line weight by hand. That variation is what makes a print read as drawn rather than generated.
2. Capture it cleanly
Shoot flat in indirect daylight — window light, no flash, phone parallel to the page. Avoid shadows from your own arm. If you want to go further with phone shooting, the iPhone shooting guide covers lenses and lighting in detail.
3. Clean up and threshold
- Open the photo in GIMP and crop to the artwork.
- Desaturate, then use Colors → Levels to push the paper to pure white and the ink to pure black.
- Erase stray specks and any page edge or shadow.
- Export a high-contrast PNG at 300 DPI.
4. Vectorize so it scales
A raster file blurs when a printer scales it up. Inkscape is free and does this well: File → Import your PNG, then Path → Trace Bitmap, single scan, brightness cutoff. Nudge the threshold until the trace preview matches your line weight, apply, delete the underlying photo, and save as SVG. Zoom to 1600% — if the edges stay crisp, you have a real production file.
If you prefer to ink digitally from the start, Krita is free, pressure-sensitive, and exports clean transparent PNGs.
5. Pick garments that fit the drawing
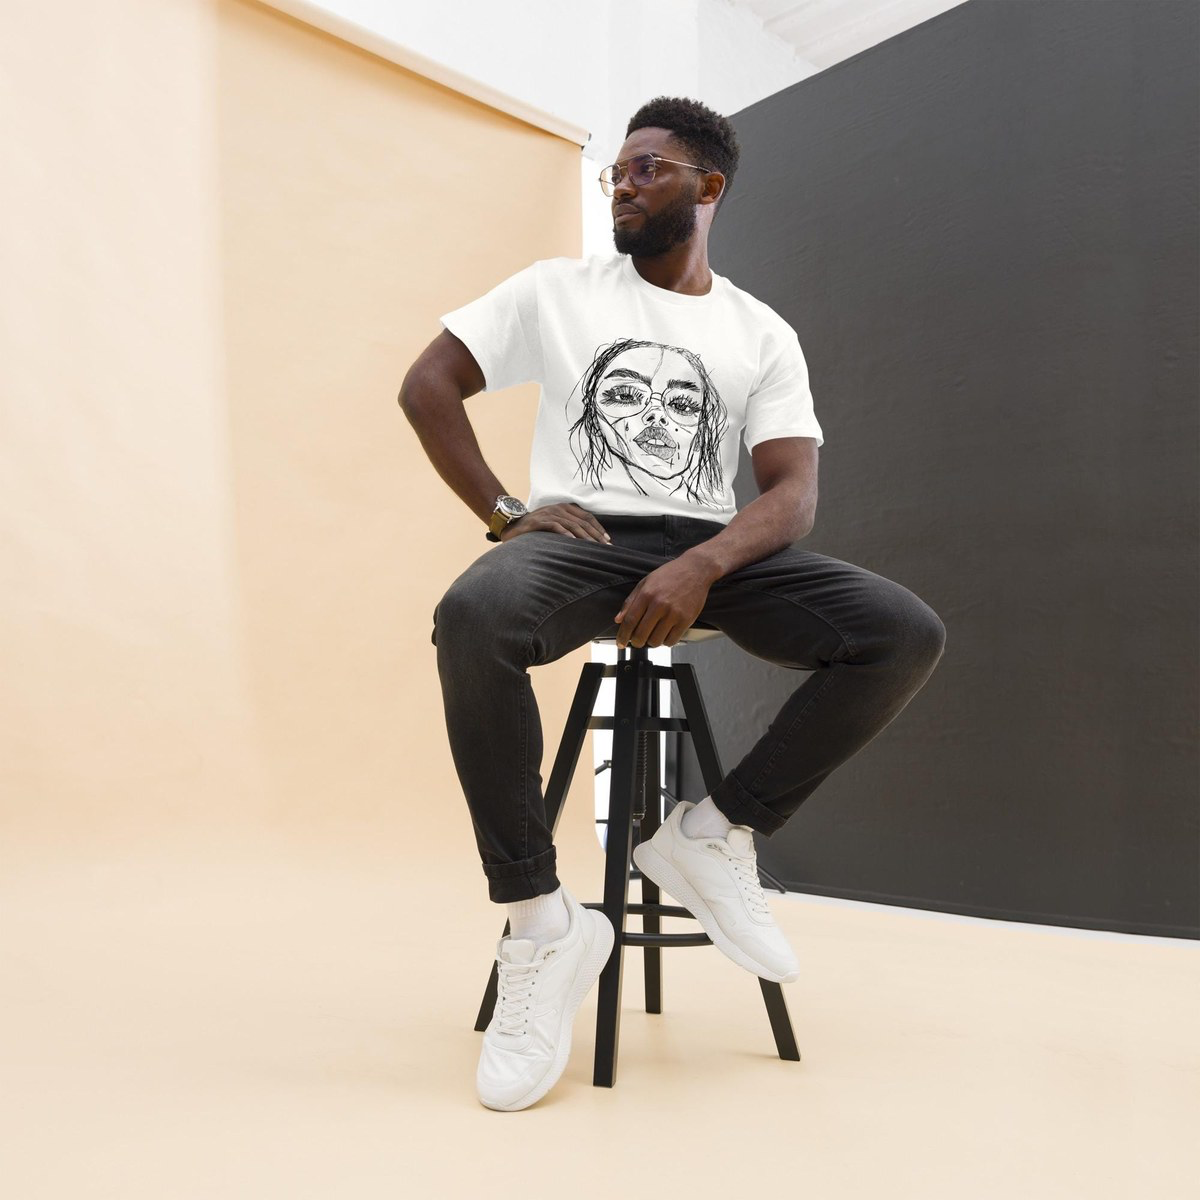
This is where most first collections go wrong. One artwork does not look the same on every blank. Line art with open negative space wants a garment that gives it room; dense sketch work wants a lighter fabric so it does not sit heavy.
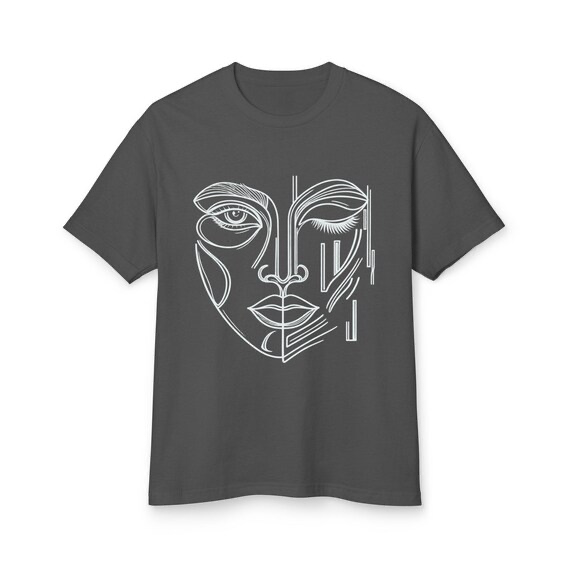
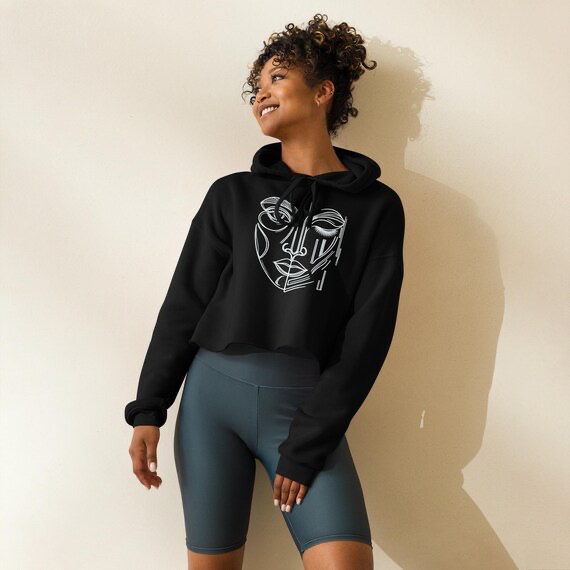
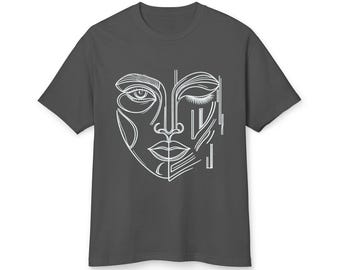
- Dark garments need a white-ink version. Invert your line art and test it. The garment-dyed heavyweight tee runs white lines on charcoal.
- Oversized cuts want a larger, centered placement. On the unisex organic oversized high-neck tee the same face prints bigger because the panel is wider.
- Cropped garments move the print up. A chest print sized for a standard tee will get cut by the hem on a crop hoodie — shrink it and raise the anchor point.
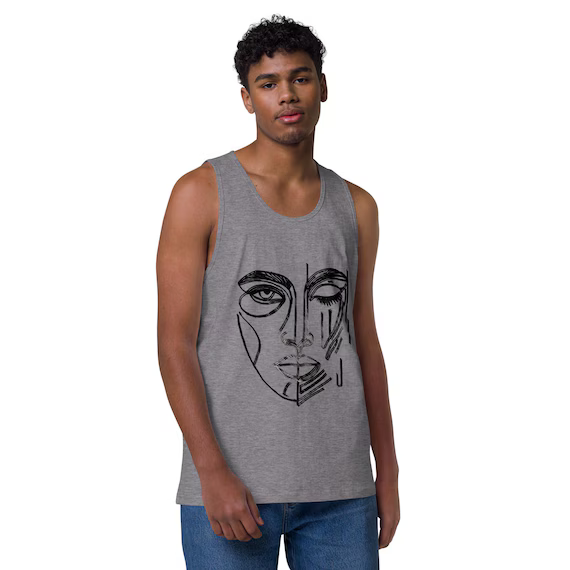
- Tanks lose width at the shoulders. The unisex tank top needs a narrower crop of the same drawing so the lines do not run into the armholes.
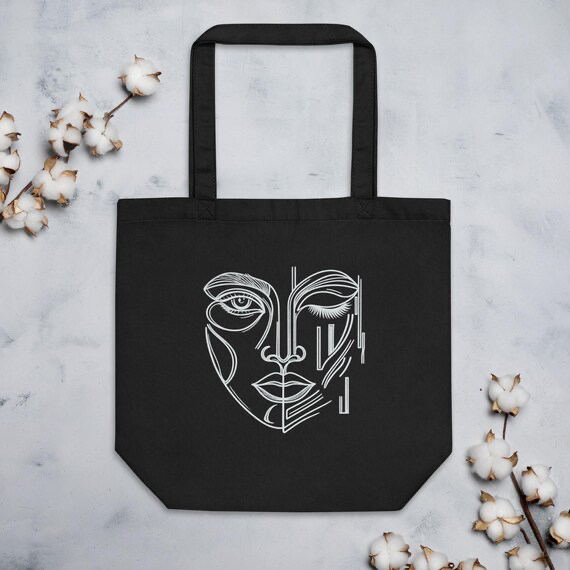
- Totes are a flat rectangle. No body curve, no distortion — the eco cotton tote shows the truest version of the original artwork.
6. Build the print file
Export a transparent PNG at 300 DPI, sized to the largest placement you will ever use (4500 x 5400 px covers a 15 x 18 inch print area). Keep the SVG as your master. Name files by garment and colorway so you never guess which version is the white-ink one.
7. Proof before you list
Order one of each garment before you publish the listing. Wash it twice. Check three things: whether the fine lines survived, whether the placement sits where it looked on the mockup, and whether the fabric weight matches what you described. Anything that fails, fix before a customer finds it.
8. Protect the drawing
Your original sketch is copyrighted the moment it exists in fixed form, but registration is what gives you real leverage if someone lifts it. The U.S. Copyright Office visual arts process is inexpensive and can cover a group of unpublished works in one filing.
Free resources
- Inkscape — vector tracing and SVG export, free and open source.
- Krita — free digital inking with pressure sensitivity.
- GIMP — scan cleanup, levels, and thresholding.
- Copyright.gov visual arts — official registration guidance.
The full Muse line-art run lives in the shop, and if you want a drawing of your own etched or engraved instead of printed, that is what studio services are for.
Featured pieces
From the studio
Hand-strung and finished in-studio. Every piece from our shop can be restrung or re-set at cost — just reach out.
Keep reading
Studio Notes
Why Small Boutique Collections Beat Mass Production
What a limited boutique collection actually means, how small runs are made, and why buying from independent designers gets you something no one else has.
Studio Notes
How to Photograph Handmade Jewelry With Your Phone
Take clean, sellable photos of handmade jewelry using only a phone, natural light, and a few free editing habits — no studio required.
Studio Notes
Why Creators Shouldn't Wait to Start Their Art
The best time to make art is before you feel ready. Why waiting costs more than beginning, and free tools, references, and communities to start with today.