Studio Notes · Guide
What Creators Actually Need to Shoot Photos With an iPhone
A practical gear list for shooting product and craft photos on an iPhone — clip-on macro and wide lenses, tripods, lighting, and the settings that matter.
By Robert Anthony · · 10 min read
You do not need a camera body and a bag of glass to photograph your work. A recent iPhone plus about a hundred dollars of accessories will out-shoot most entry-level setups for small products — jewelry, coasters, patches, prints, candles, anything that fits on a table.
Here is the honest list of what earns its place in a creator's kit, what it fixes, and what you can skip.
Start with what the phone already does well
Modern iPhones have a wide, ultra-wide, and — on Pro models — a telephoto lens. The main wide camera is the sharpest of the three, so it should be your default for product shots. Two habits matter more than any accessory:
- Shoot at 1x on the main lens. Digital zoom and the ultra-wide both cost detail, and the ultra-wide bends straight edges near the frame.
- Turn off automatic macro. When you get close, the phone silently switches to the ultra-wide and image quality drops. In Settings, Camera, turn off Auto Macro so you control the switch.
A clip-on lens kit is the highest-value upgrade
The Xenvo Pro Lens Kit for iPhone and Android is the quick, flexible option: a 15x macro lens, wide-angle lens, clip, LED fill light, and travel case in one small kit. It gives you true close focus on texture and a wider frame for flat lays without committing to a phone cage or threaded backplate.
- Xenvo 15x macro lens — use it for crystal faces, the burn edge on an engraved patch, and the grain in cork. Working distance is short, usually an inch or less, so light and stability matter more than usual.
- Xenvo wide-angle lens — useful for overhead flat lays of a whole product line on a small table where you cannot back up far enough.
- LED fill light — helpful when the macro lens puts the phone close enough to cast a shadow. Keep it soft and off-axis so polished metal does not show a hard hotspot.
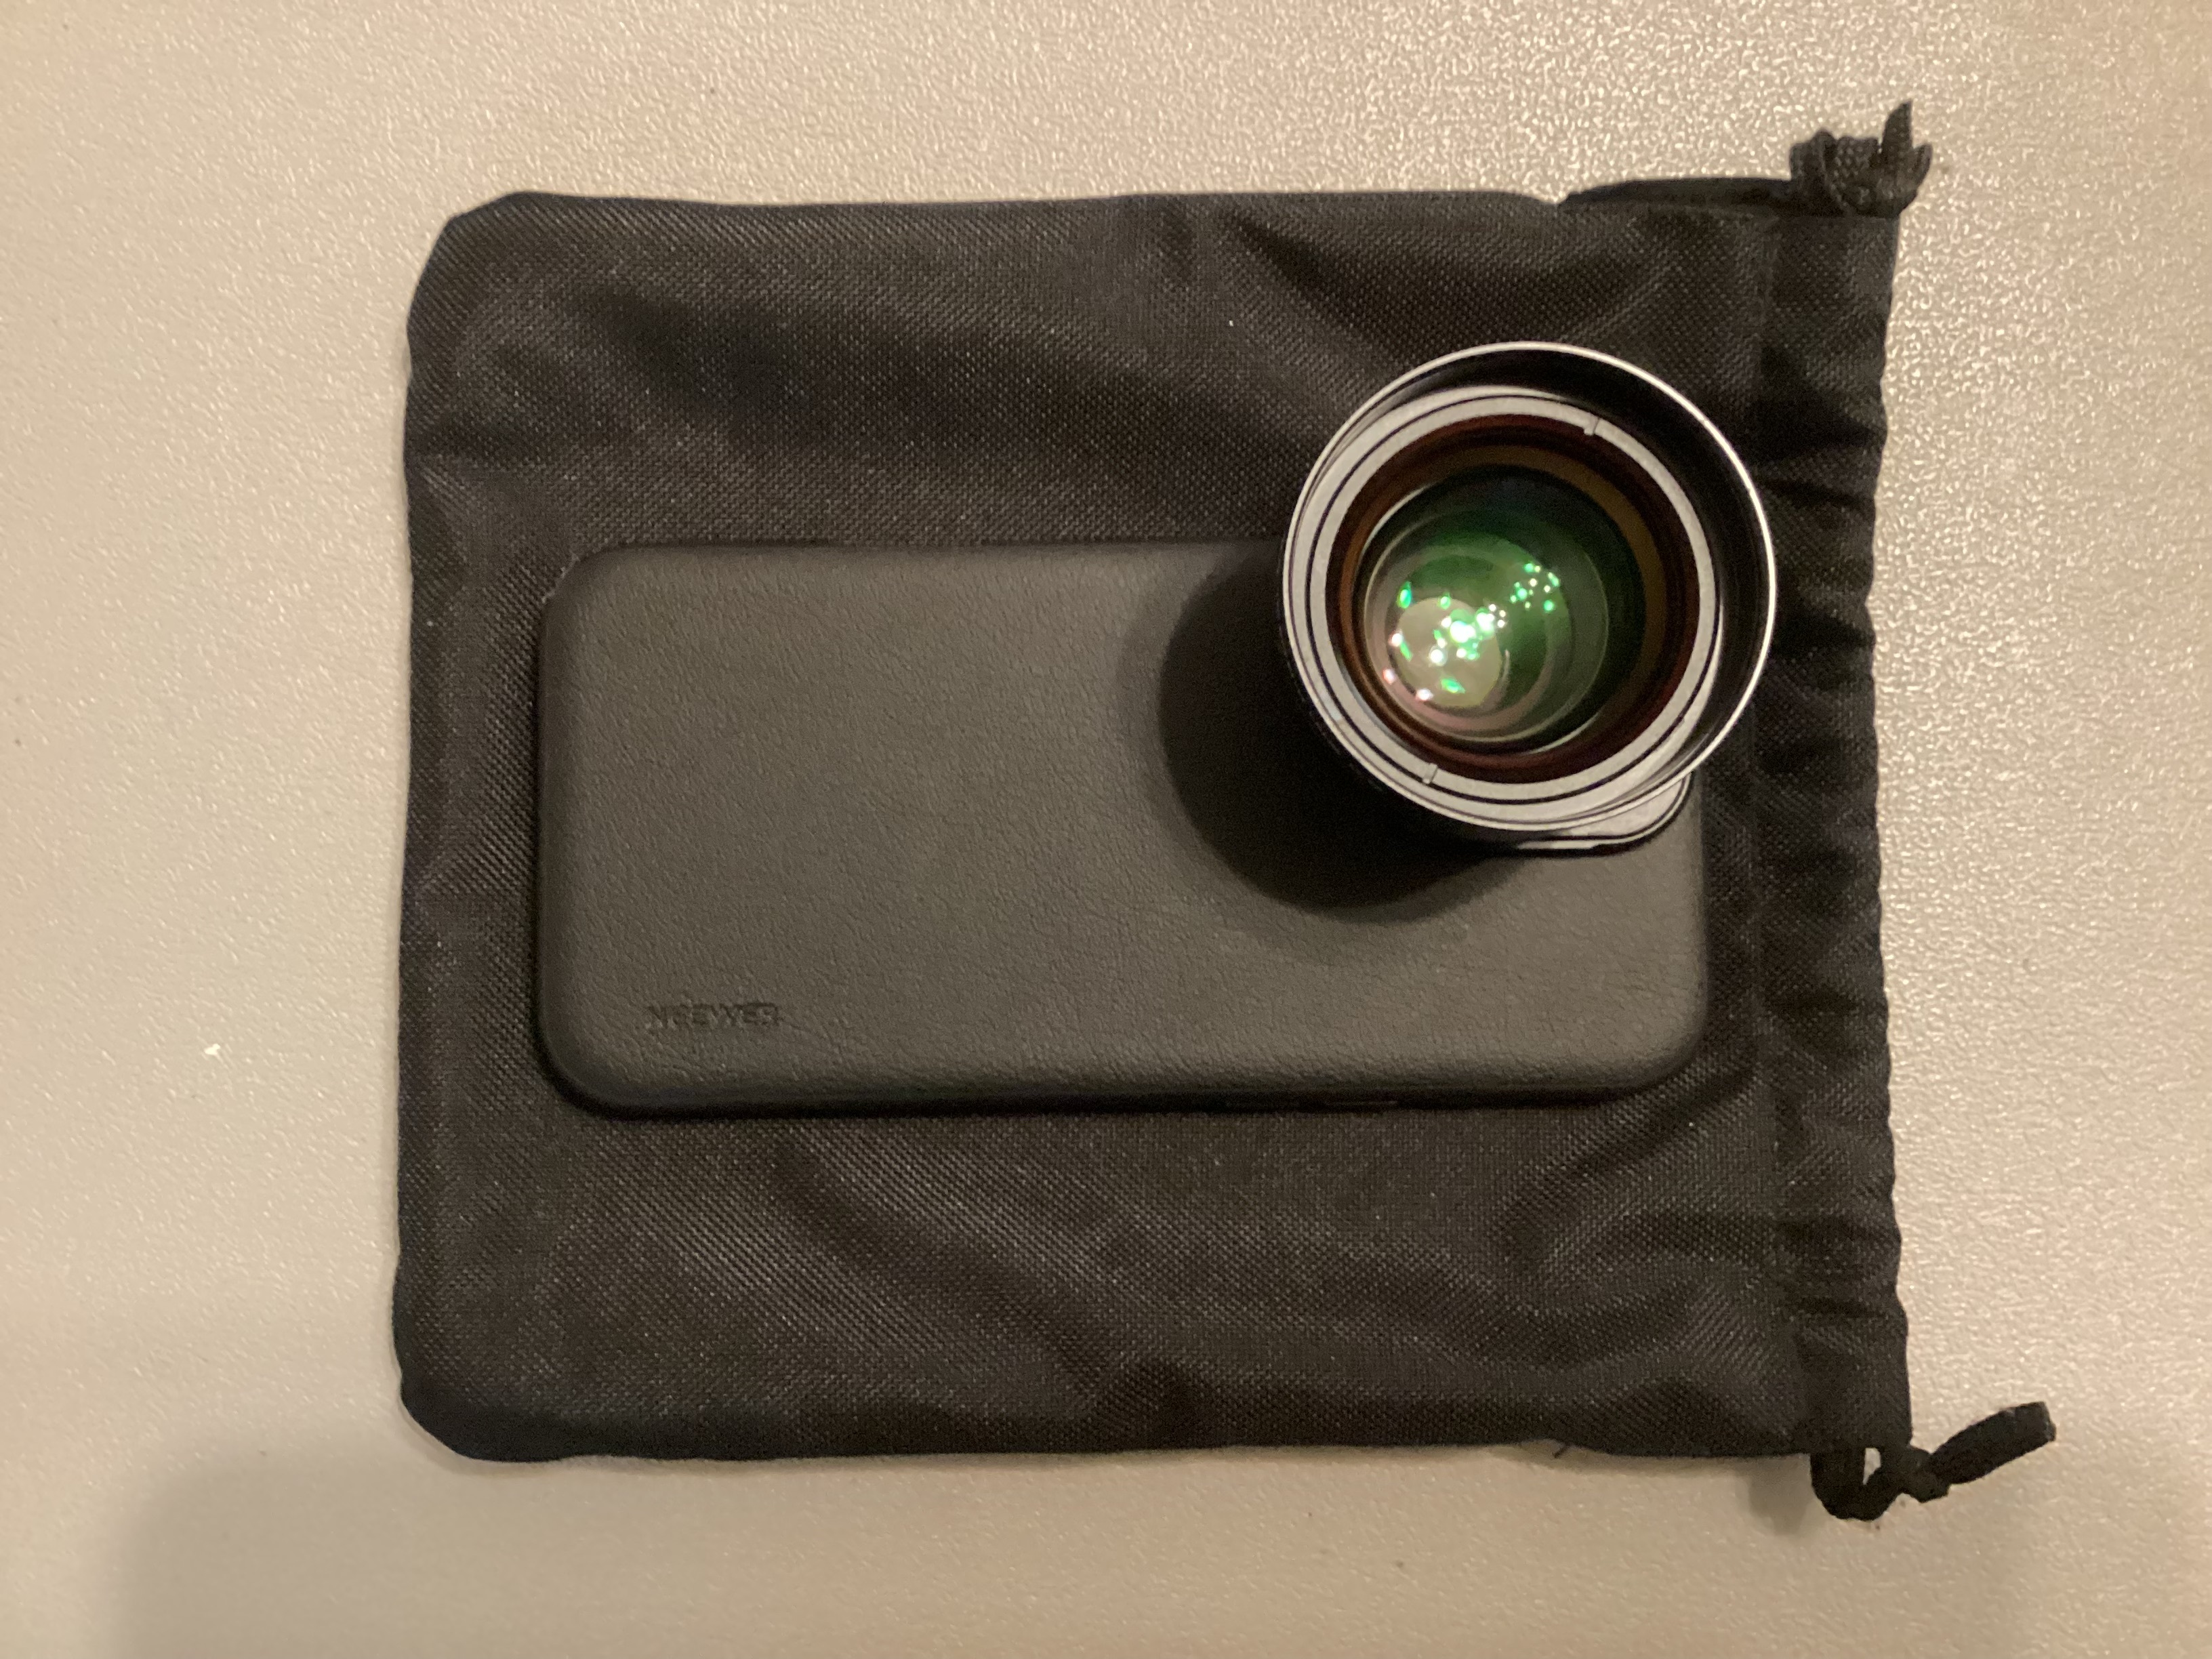
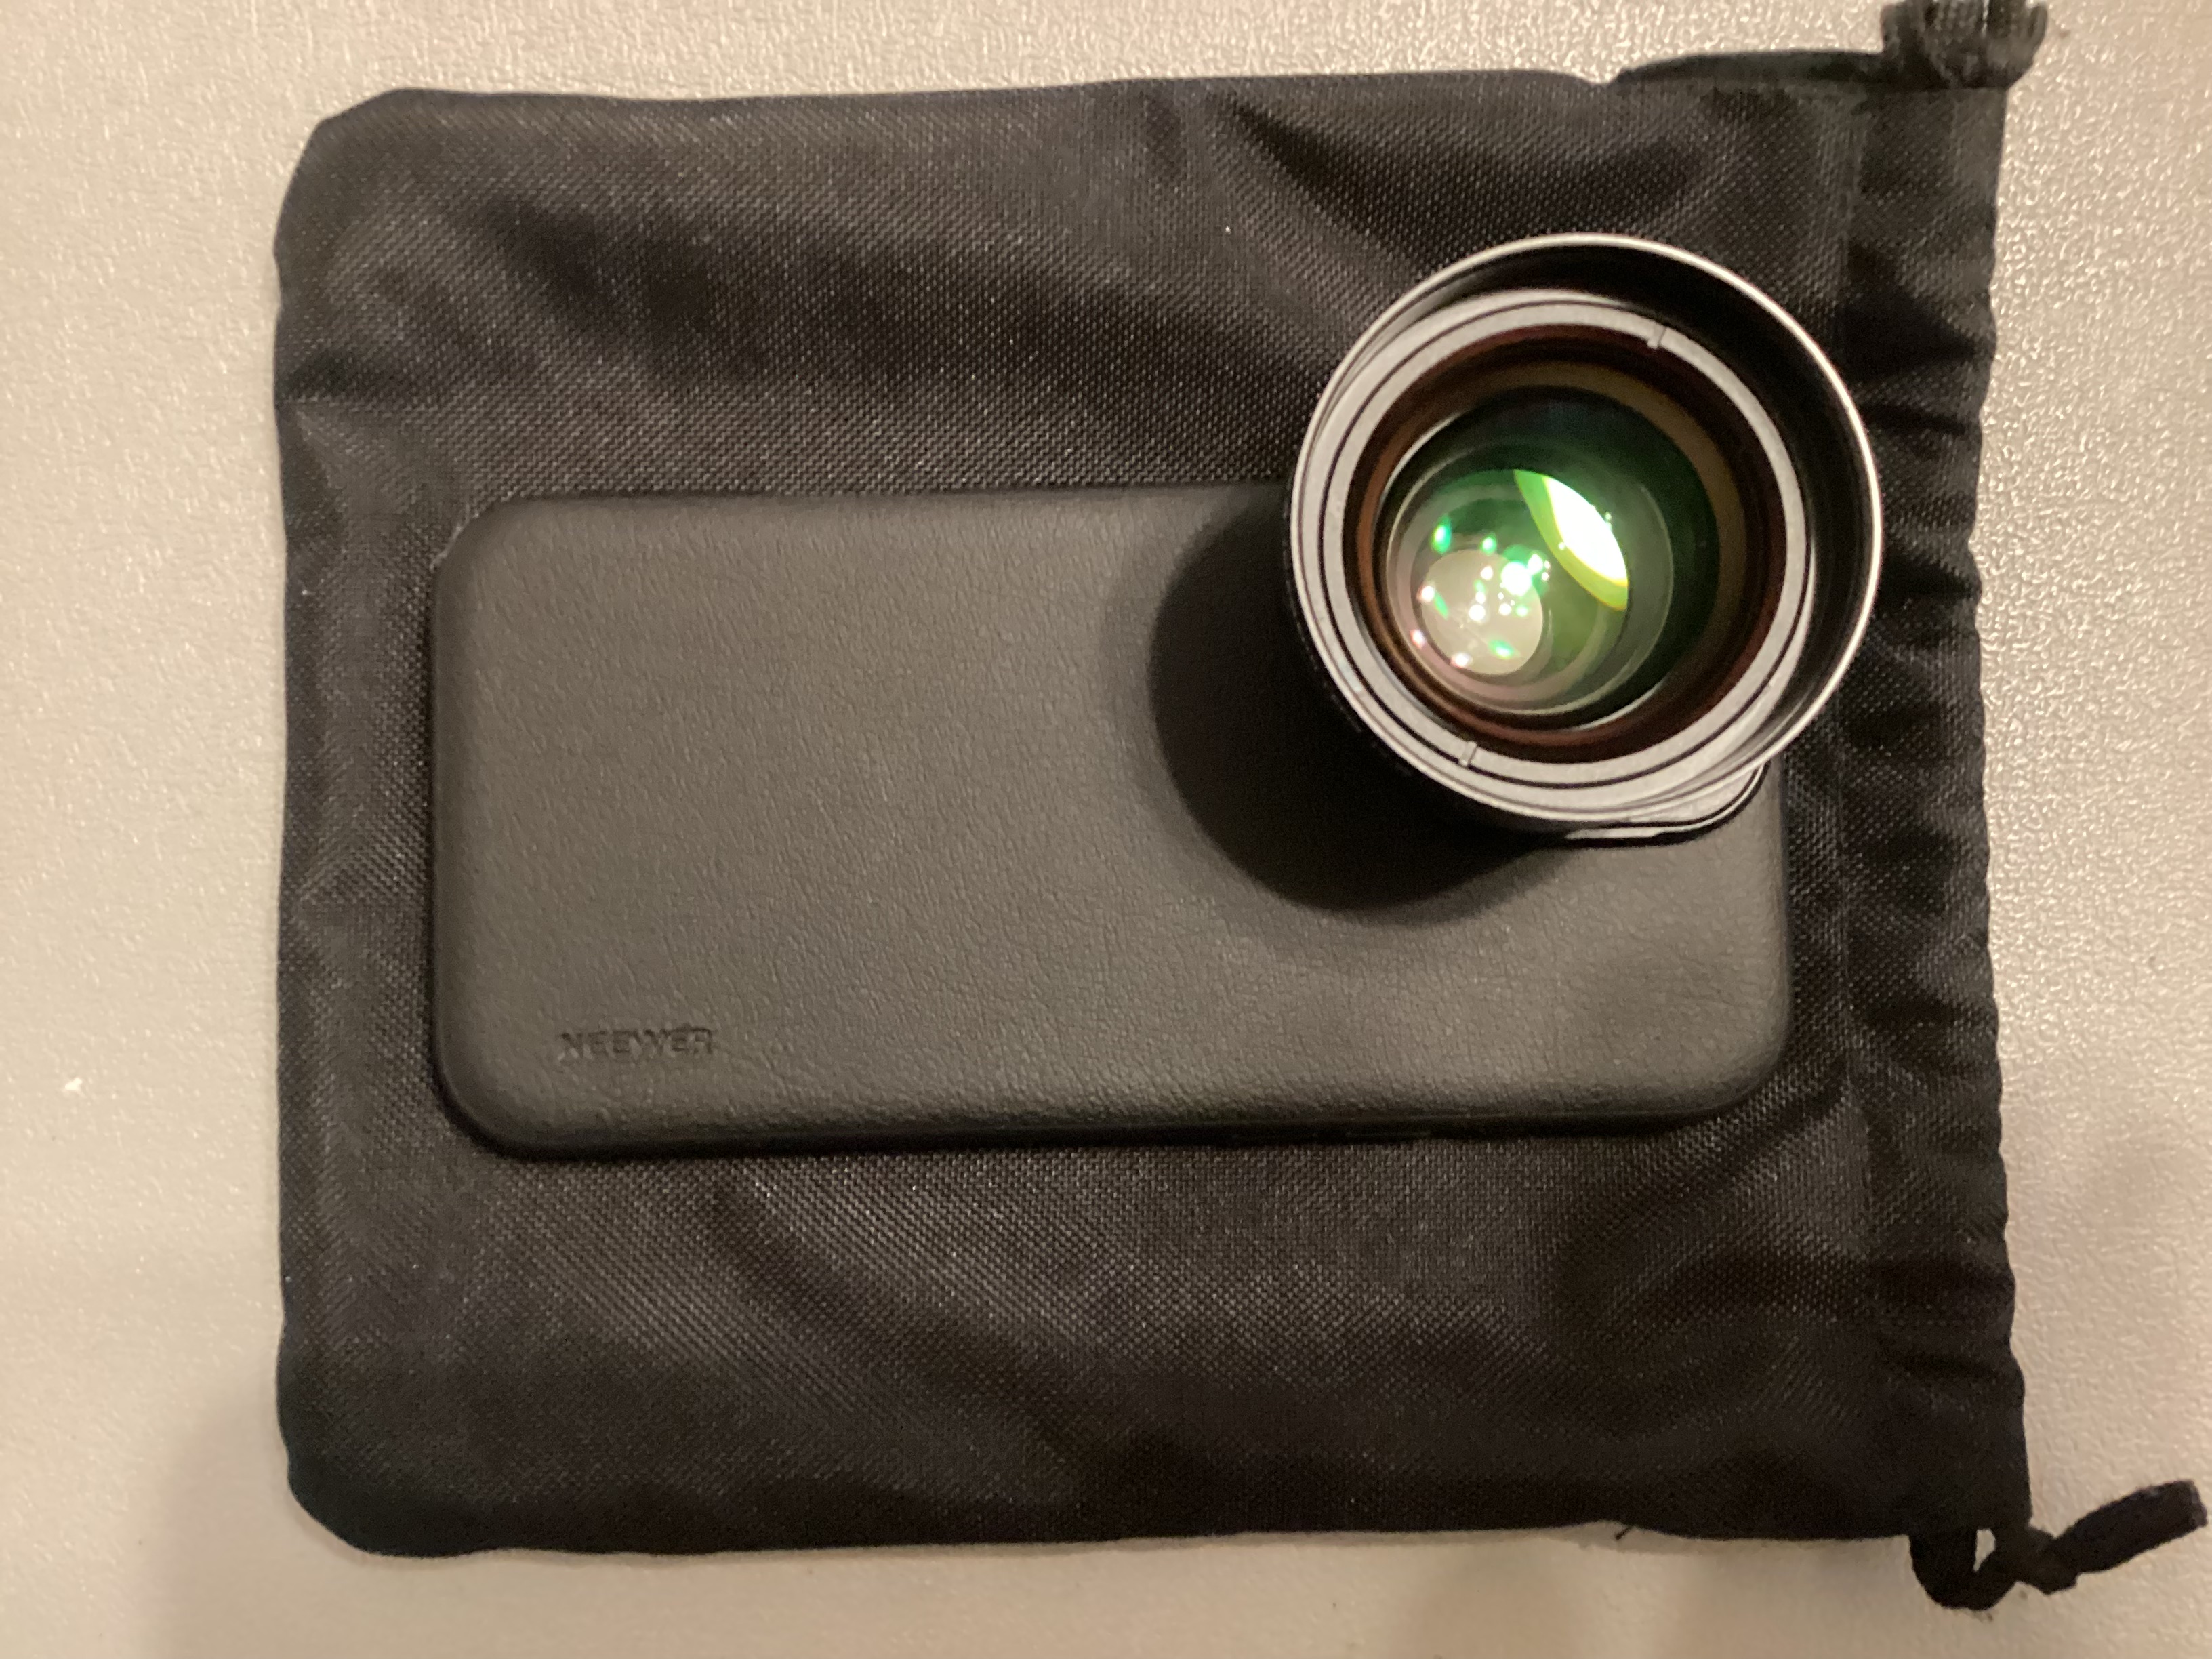
- NEEWER HD 65mm Telephoto Phone Camera Lens (1.7x) — this is a separate, longer lens we use with a lens hood. It flattens perspective, so a pendant or coaster looks true to shape instead of bulging toward the camera, and it lets you stand back from the piece so your shadow stays out of the shot.
- NEEWER PA084 iPhone 16 Pro Max case — the pictured TPU/PC protective case has dedicated 17mm lens mounts, MagSafe compatibility, and a 67mm thread filter adapter. It gives the telephoto lens a fixed, aligned connection instead of relying on a spring clip, while still protecting the phone during a shoot.
- CPL filter — a circular polarizer kills glare on glass, resin, and polished metal. If your silver photos always have a white hotspot, this fixes it; the NEEWER case's 67mm filter adapter is the relevant size for that case setup.
The Xenvo kit attaches with its spring clip, so center the clip carefully over the iPhone camera you are using and check the corners for dark vignetting before the final shoot. It is the better choice when you want to move between phones or pack light. The NEEWER HD 65mm telephoto is different: it works with a 17mm threaded mount, and the NEEWER iPhone 16 Pro Max case shown here provides those mounts along with a 67mm filter adapter. That setup is more secure and repeatable, but the case is model-specific, so check the exact iPhone version before buying.
Two practical notes from using them: keep the clip or threaded lens centered over the camera, and shoot at 1x with macro mode off, or the phone may fight the attachment for focus.
Stability beats everything else
Most blurry product shots are not focus problems, they are hand-shake problems, and they get worse the closer you shoot. Options, cheapest first:
- A stack of books and the 3-second timer — free, and genuinely fine.
- A small tabletop tripod with a phone clamp — around twenty dollars, and the single best purchase after the lens kit.
- An overhead or gooseneck arm — worth it if you shoot flat lays repeatedly and want the same framing every time.
- A Bluetooth shutter remote — ten dollars, keeps your hands off the phone entirely.
Light: one window, one bounce card
Indirect window light on an overcast day is still the best free light source there is. Add a piece of white foam board on the shadow side to open up the dark half of the piece. That is a complete lighting setup.
If you shoot at night or need repeatability, a small LED panel with adjustable color temperature runs about thirty dollars. Set it to daylight, around 5000–5600K, bounce it off a wall or through a diffuser, and turn off every other light in the room so you are not mixing color temperatures.
Surfaces and backdrops
- White cardstock or matte poster board for clean catalog shots.
- A tile sample, slate board, or scrap of linen for lifestyle texture.
- Black velvet for silver and crystal, which separates cleanly against dark.
- Museum putty or a bit of clear wax to stand pendants and points upright.
Settings worth changing once
- Grid on — Settings, Camera, Grid. It keeps horizons and flat lays square.
- Formats set to Most Compatible if HEIC files cause problems with your listing platform, or keep HEIF and convert on export.
- Apple ProRAW on Pro models when you plan to edit — it holds far more highlight detail in shiny metal.
- Lens correction on so the ultra-wide does not warp edges.
- Exposure locked slightly down — tap the subject, then drag the sun icon down a touch. Underexposing protects highlights on polished surfaces.
Editing: free apps are enough
Snapseed and Lightroom Mobile are both free and both do more than you need. Keep edits honest: white balance so metal reads neutral, a small contrast lift, a light sharpening pass, and a crop. Skip filters — a buyer who receives something that does not match the photo becomes a return and a bad review.
A realistic budget
- Under $50 — clip-on macro and wide lens kit, tabletop tripod, white foam board. This covers 90% of product photography.
- Around $120 — add a CPL filter, an LED panel with a diffuser, and a Bluetooth remote.
- Beyond that — an overhead arm and a couple of real backdrop surfaces. There is no fourth tier you need before your shop is profitable.
What to skip
- Cheap pop-up light tents — they flatten texture and add a plastic color cast.
- Fisheye and kaleidoscope novelty lenses — fun, never used for listings.
- Ring lights aimed straight at the product — they stamp a visible donut reflection onto every polished surface.
- Anything that promises to replace the main camera. The phone's own wide lens is the best glass you own.
Once the kit is set, the technique is the easy part — we walk through framing, angles, and editing in how to photograph handmade jewelry with your phone. If you are getting ready to list, see the beginner's guide to starting an Etsy shop and where to sell handmade goods.
Every photo in our gallery was shot with this kind of setup, and you are free to use those images in your own articles and projects with attribution.
Featured pieces
From the studio
Hand-strung and finished in-studio. Every piece from our shop can be restrung or re-set at cost — just reach out.
Keep reading
Studio Notes
How to Photograph Handmade Jewelry With Your Phone
Take clean, sellable photos of handmade jewelry using only a phone, natural light, and a few free editing habits — no studio required.
Studio Notes
Where to Sell Handmade Goods: Online Platforms, Farmers Markets, and Pop-Ups
A maker's guide to selling: what each online marketplace really costs, how farmers markets and craft fairs work, and how to land a pop-up or wholesale spot.
Studio Notes
A Beginner's Guide to Starting an Etsy Shop for Handmade Sellers
Open an Etsy shop from scratch: naming, listings, photos, shipping, taxes, and the first 90 days — built for makers, artists, and small shops.